Configuration And Meta-data of Your Report
This document would discuss how to manage your existing JS reports. Here you will learn how to manage the configuration and additional meta data of any report.
The first step is to log into IDHub as an admin, then go to the following URL: https:// YourDomain.iamsath.com/reports/
You will see the following page:
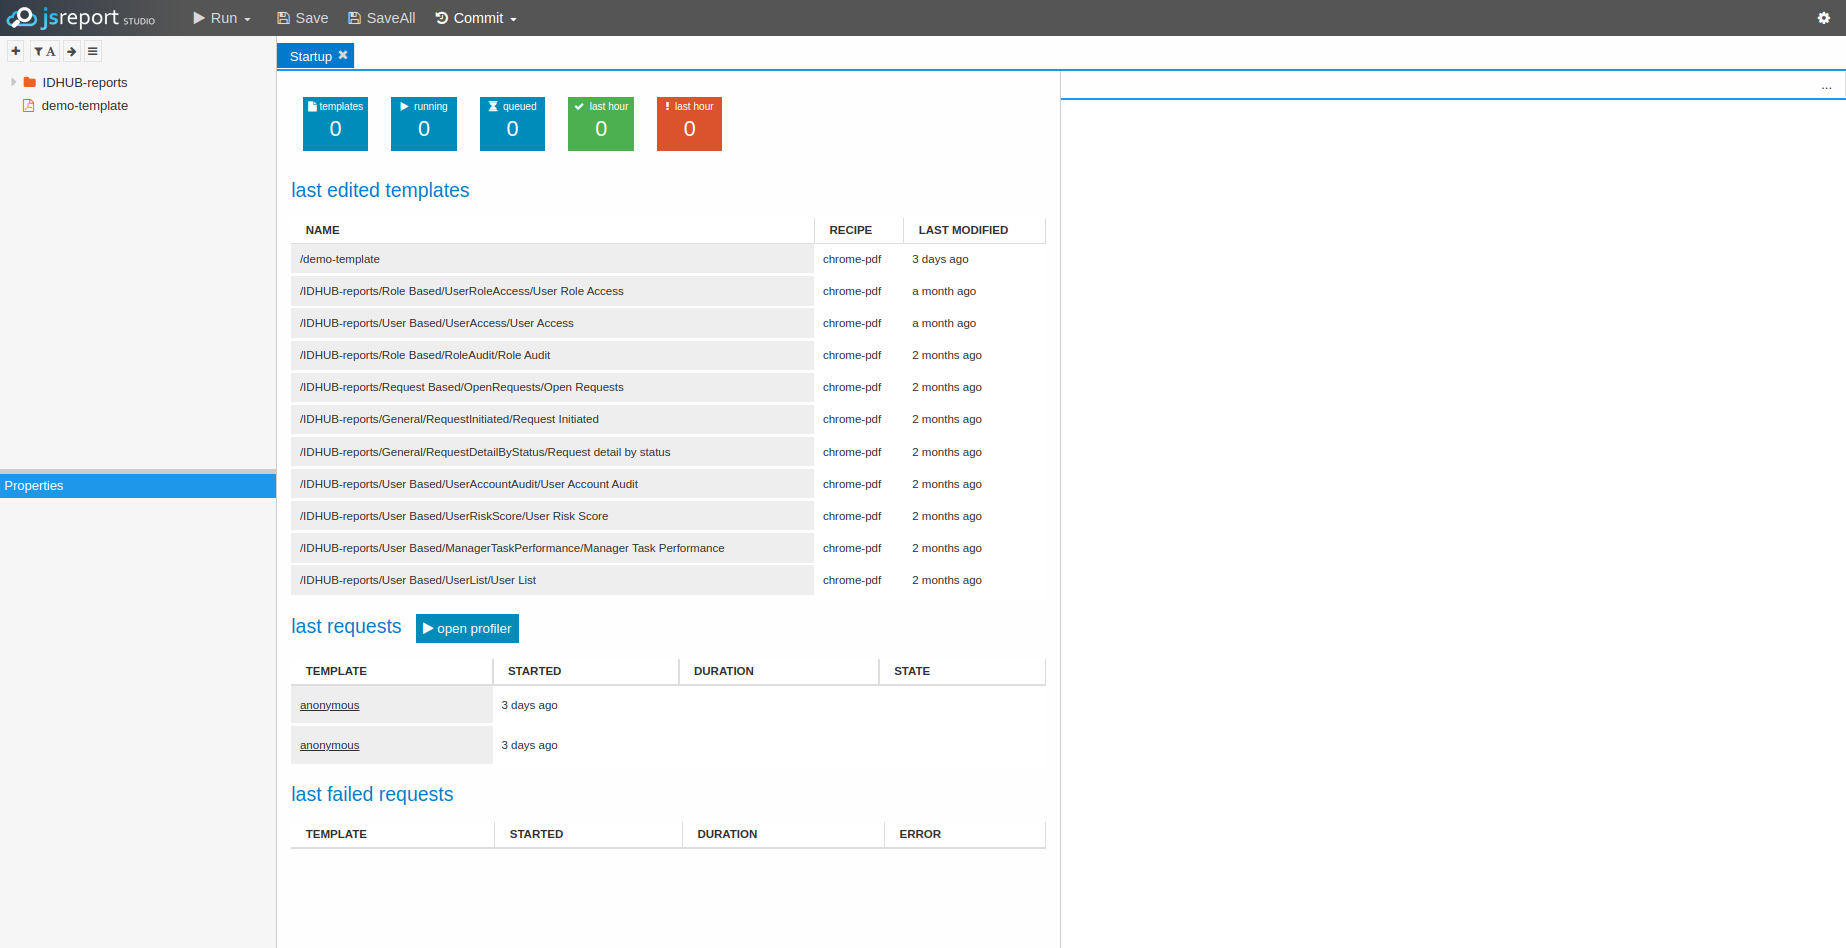
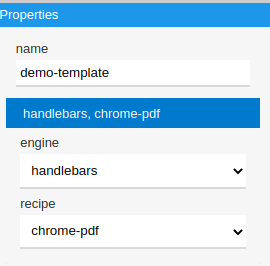
Then the report which you need to manage, click on the report and you will see the report properties as is shown in the screenshot below:

Click on the handlebars and then you will see the following properties.
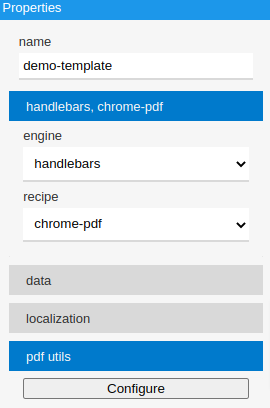
The recipe drop-down is the list of output format options that are available for the report. After changing the required properties such as: recipe etc, you need to click on the Save button.
For Example: If you changed the recipe of the report to html to xslx, then clicked on the save button. And then click on the run button. JS report would show you the rendering in the right hand side as is shown in the screenshot below:

If the recipe is chrome-pdf, then you can click on the property pdf-util as is shown below:
Click on the button “Configure” which will show the following screen:

If you want to add any meta data to the PDF, then you can click on the button “Meta” and it will show the following screen:

Here you can add the following values for the configuration:
- Title
- Author
- Subject
- Keywords
- Creator
- Producer
- Language
You can set the meta value fields as per your requirement.
If you want to setup a password for the report, then click on the button Password, which will display the following screen:

You can enter the user password and/or any permissions that you want to manage for the pdf.
If you want to set up the Tags, then click on the Tags property as is shown in the screenshot below:
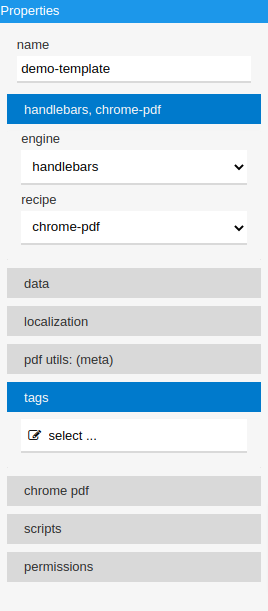
Then click on the “Select” button which will display the following screen:
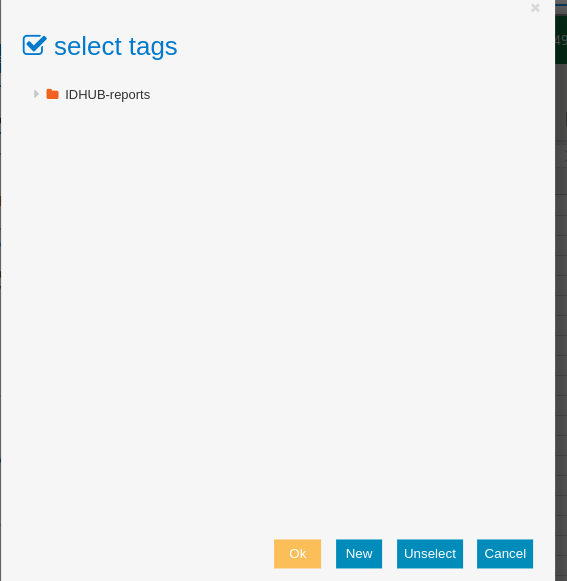
Click on the “New” button in order to add new tags, this will bring you to the following screen:
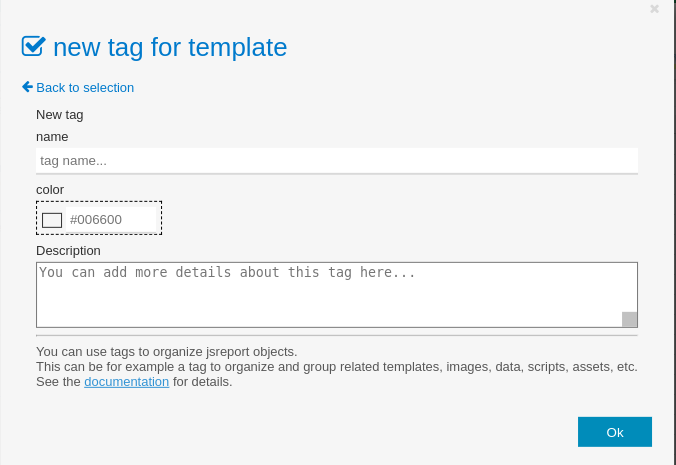
In the new tag template you can enter the name of the tag, color and any description for the tag.
After creating the Tags, the tags will be displayed under the properties as is shown below:
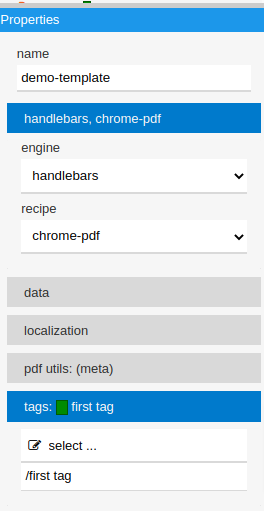
To assign a template to a tag, just click on the tag and IDHub would assign that tag to the template, such that those templates will now reflect the assigned tags. Please refer to the screenshot below:
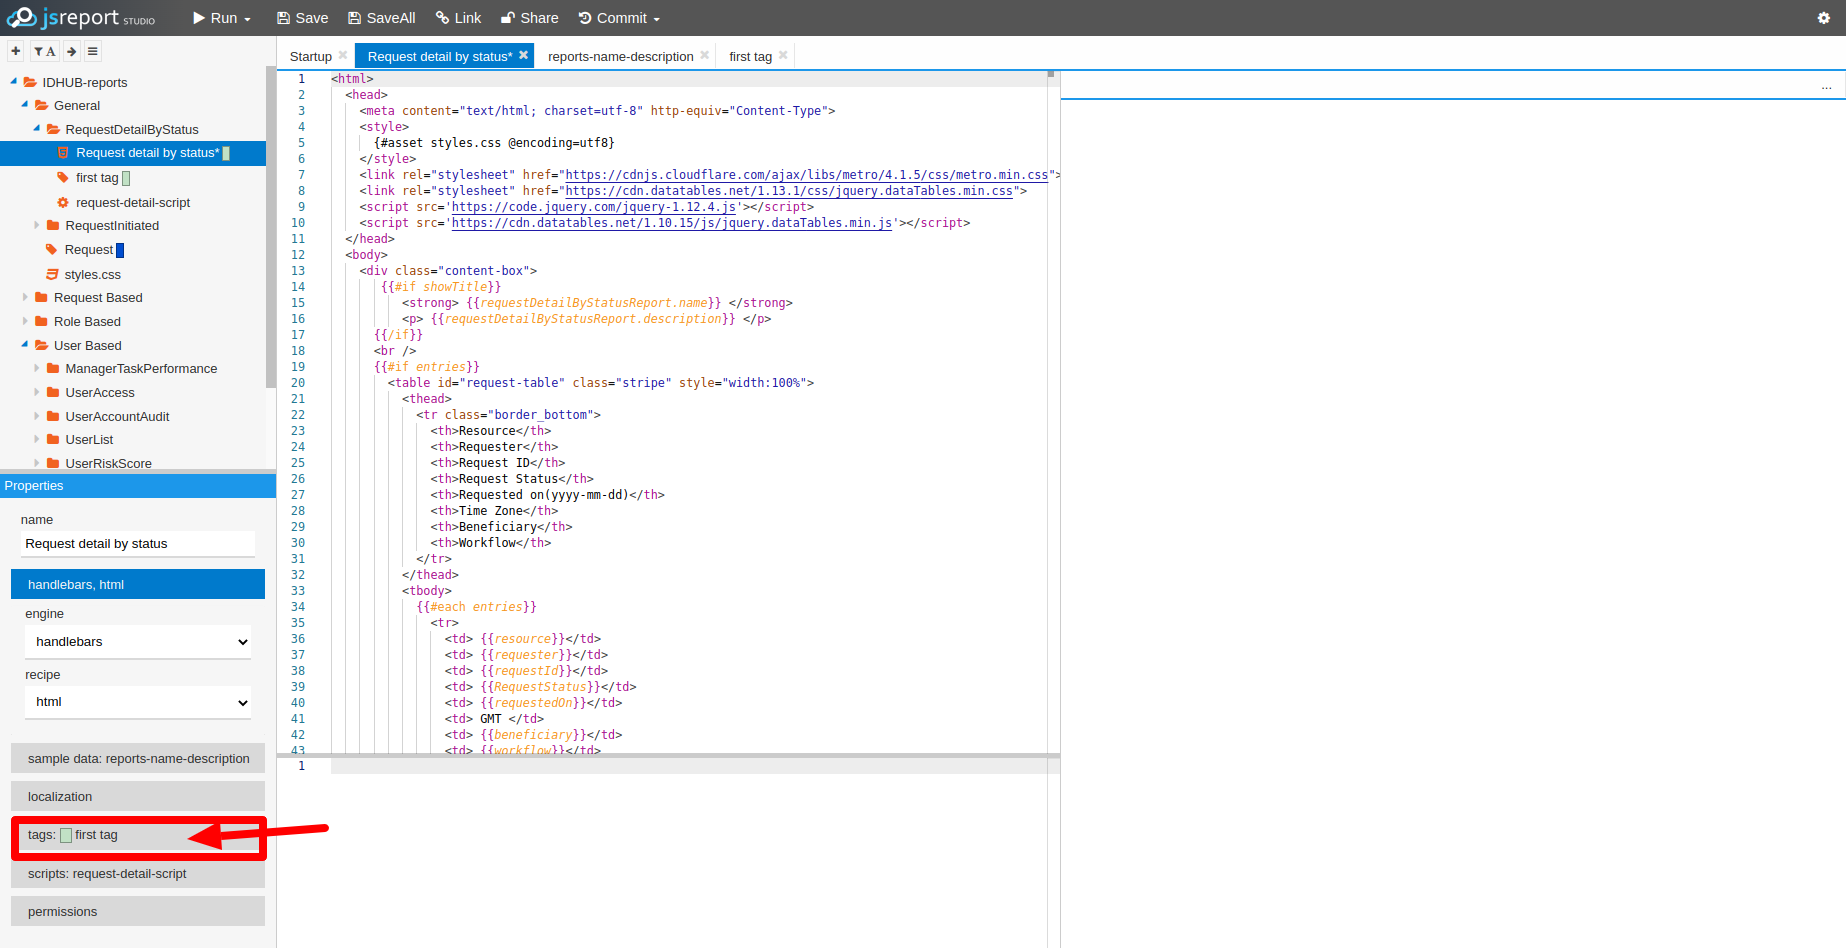
You can assign multiple tags to the template. Templates would be reflected as assigned tags.