Associate an Email to a workflow
Page Background: In this page we would discuss how to associate an email to a workflow and how to test an email.
If you want to associate an email to a workflow then log into IDHub as a admin and then click on the workflows, you will get a page as shown in the screenshot below:
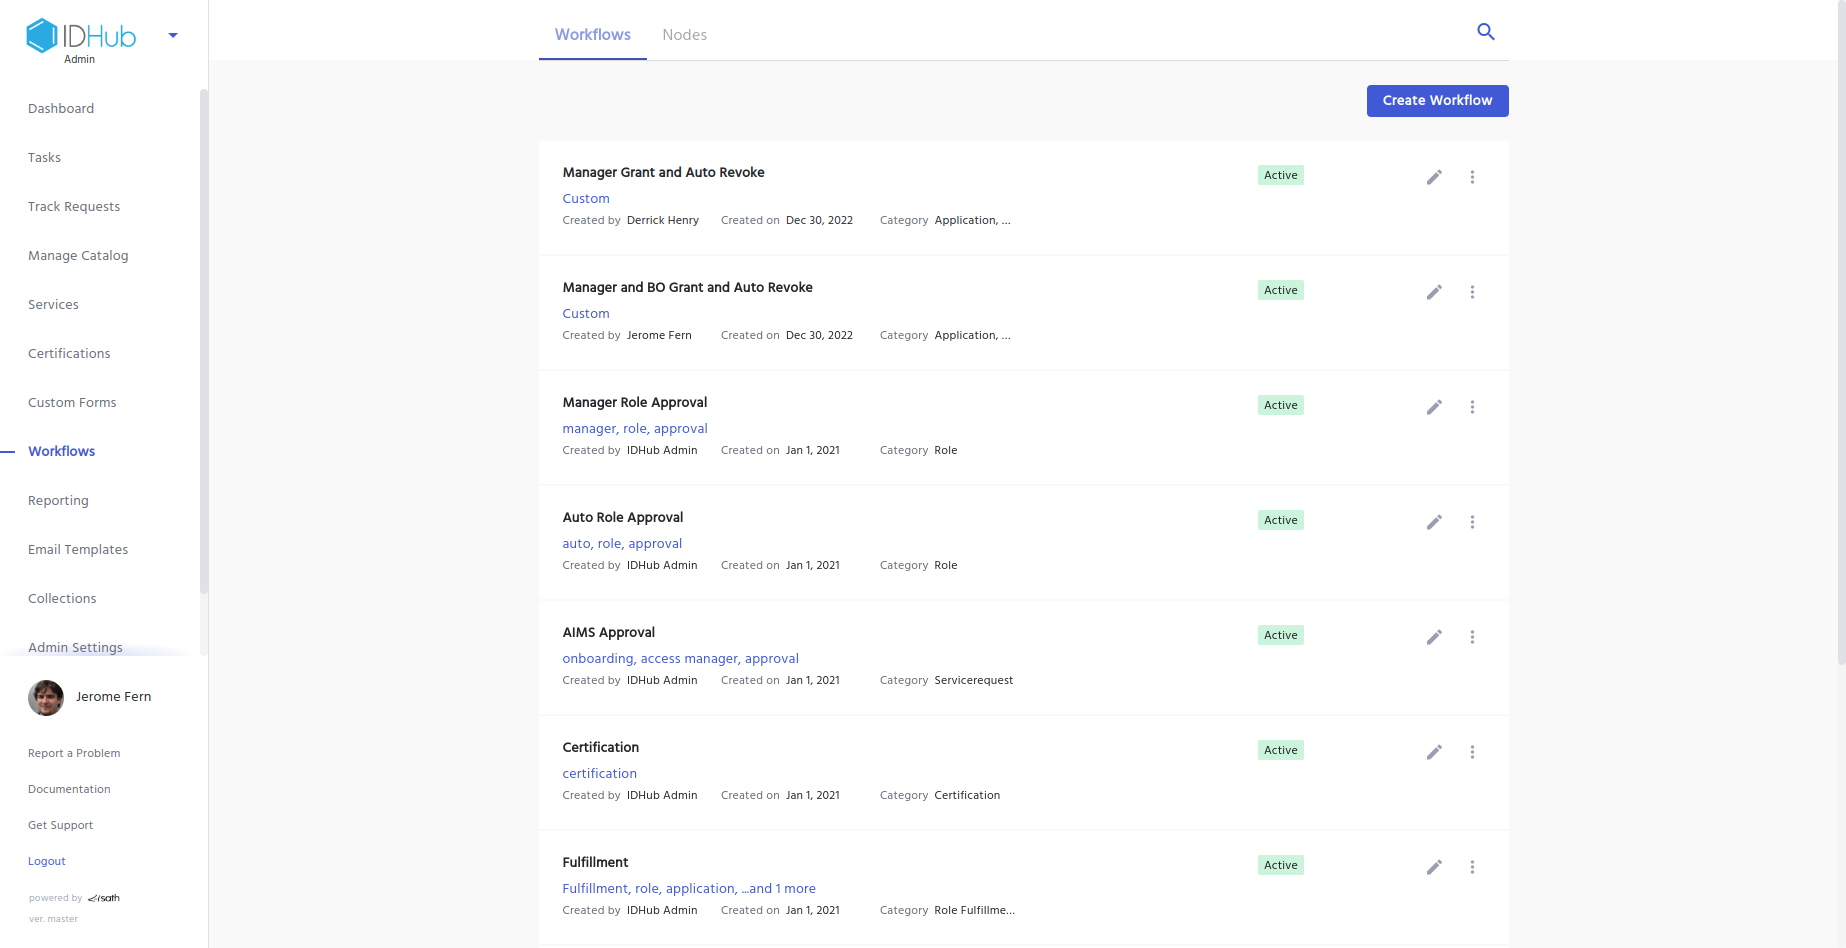
Here you will get a list of all the workflows that is there in IDHub. Now you can click on the edit icon on the workflow to which you want to associate the email. This will open the workflow editor screen.
In the left hand side of the workflow editor screen you will see a “Send Notification” node as you can see below:
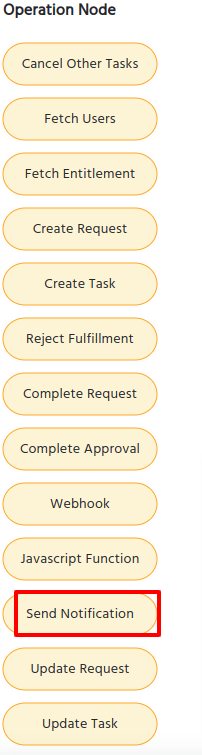
You can click and drag that node to the middle section of the editor. In the right hand side of the screen, it will show the options for the Send Notification node as is shown in the screenshot below:
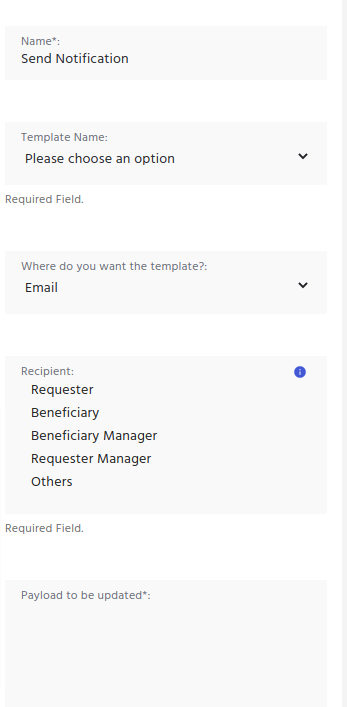
Here you can select the email template from the drop-down and then choose the recipient of that email. Once you are done with these options, then you can click on the update button at the bottom of the screen, which will update the workflow and associate your selected workflow to the email template.
How to test the email:
If you want to test the email that you have created, then following are the steps:
Login to IDHub as an admin
Create new email template.
Associate with that email template to a workflow
Make sure that the workflow is associated to an app.
Request for an app that has that workflow.
Click on the Email templates menu. This will give the list of all the email templates.
Click on the Email template that you want to check. This will show a screen as shown below:
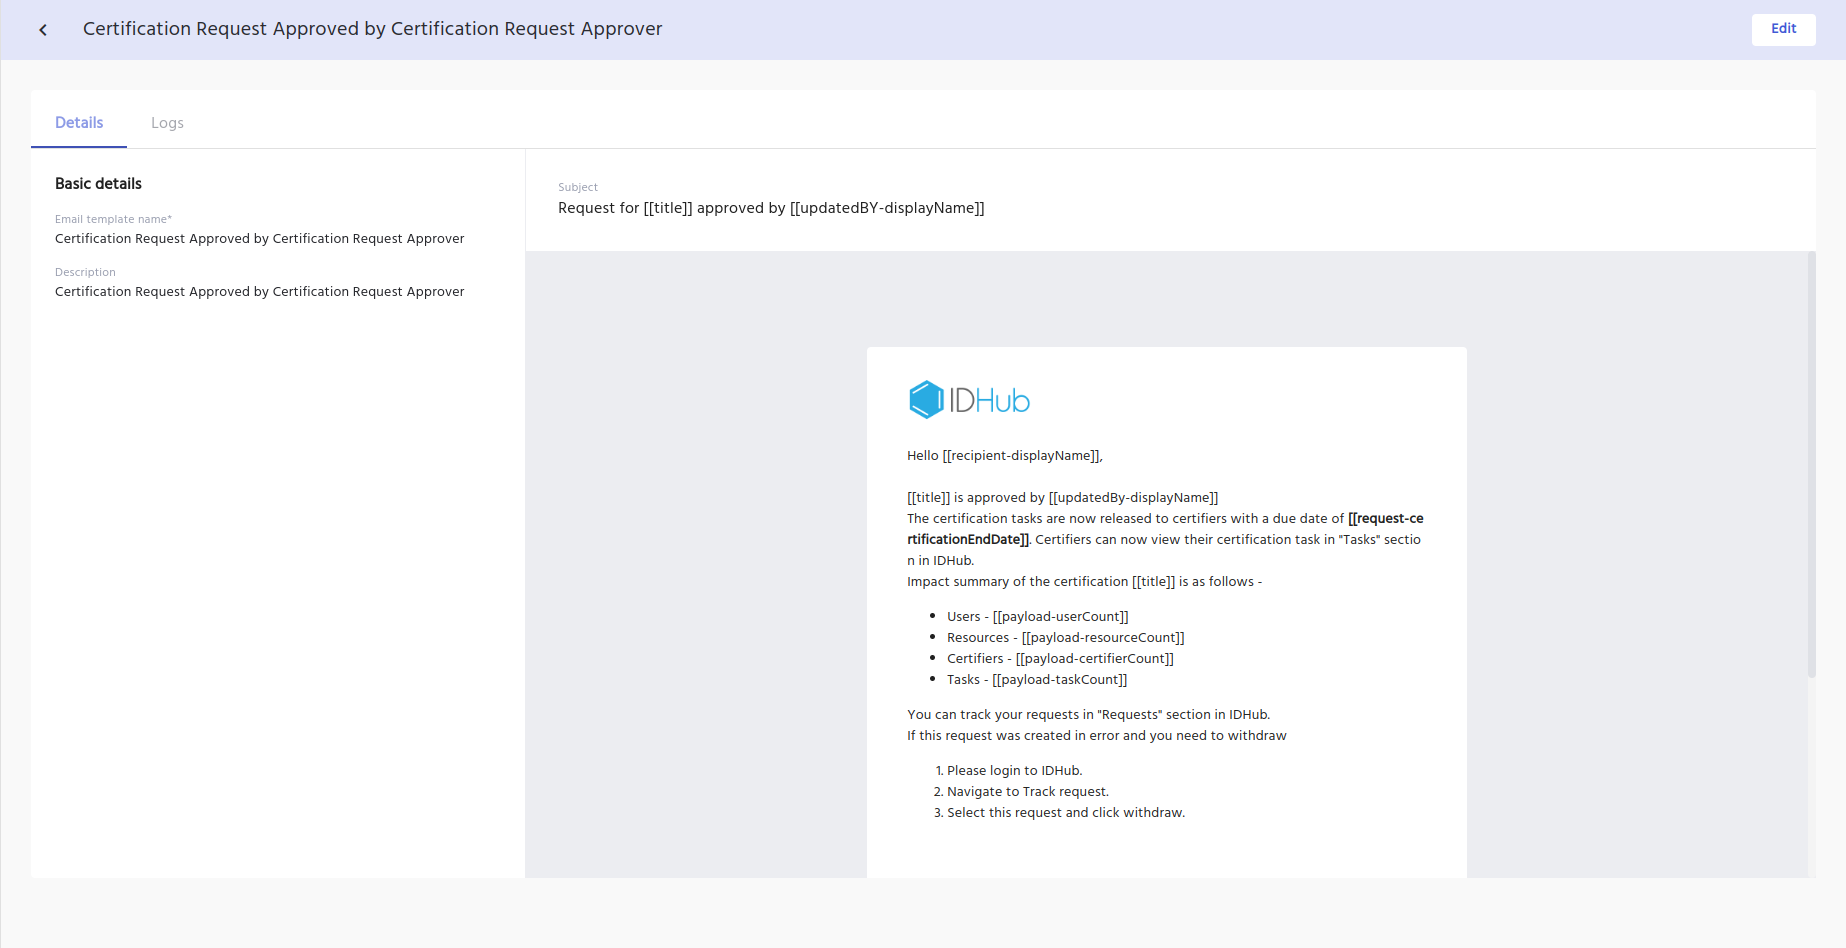
- Click on the LOGS tab in the page and then you will be able to test whether the email template is running fine or not.