Backup and Restore IDHub Cloud Tenant
The document provides a detailed guide on how to backup and restore IDHub Cloud tenant data.
Navigate To Account Management
Go to the URL: http://FQDN/admin/account, then click on Backups in the left menu of account management.
info
Replace [FQDN] with the IDHub Application URL.
List of Active Backups
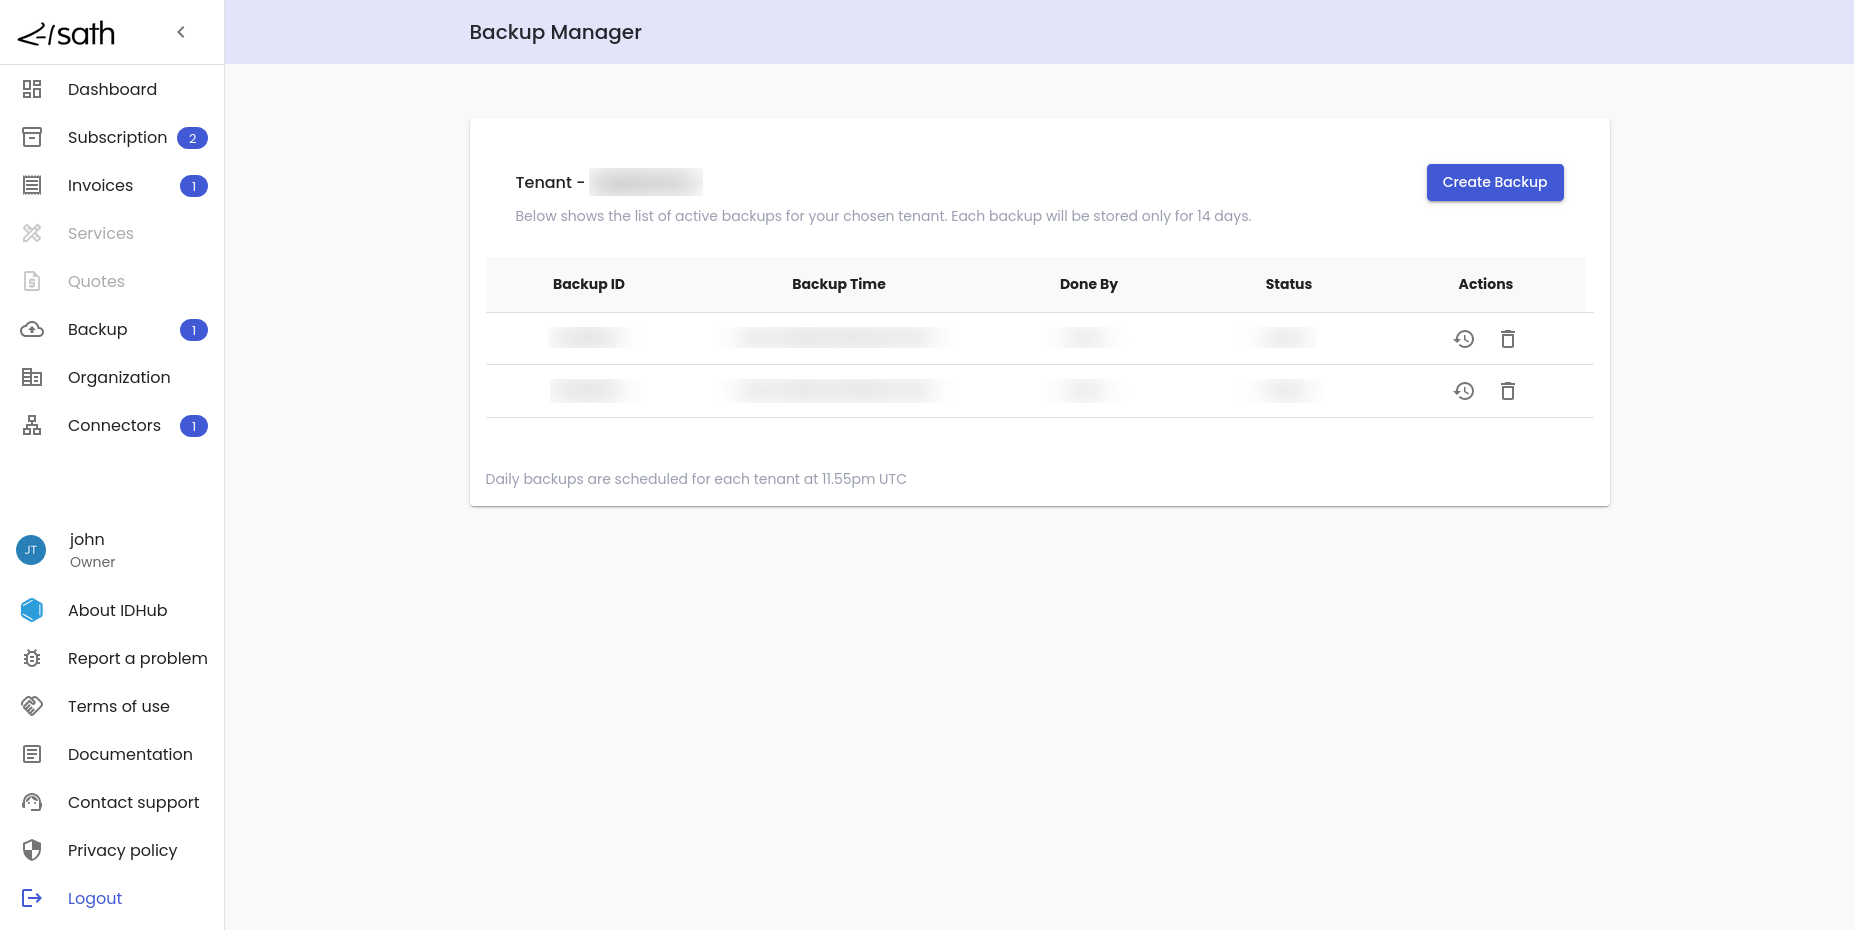 This page would show the list of active backups for the tenant. Following data would be shown for each backup:
- Backup ID.
- Backup Time.
- Done By.
- Status.
- Actions.
note
Only backups, which are active and can be restored to be shown in the list.
Create Backup Button

- Click on the
Create Backupbutton in order to create the backup for the tenant. A toast message will appear thatBackup Created Successfully. - IDHub creates the backup of the tenant and once the backup is completed, it will be added to the list of backups.
Restore from Backup
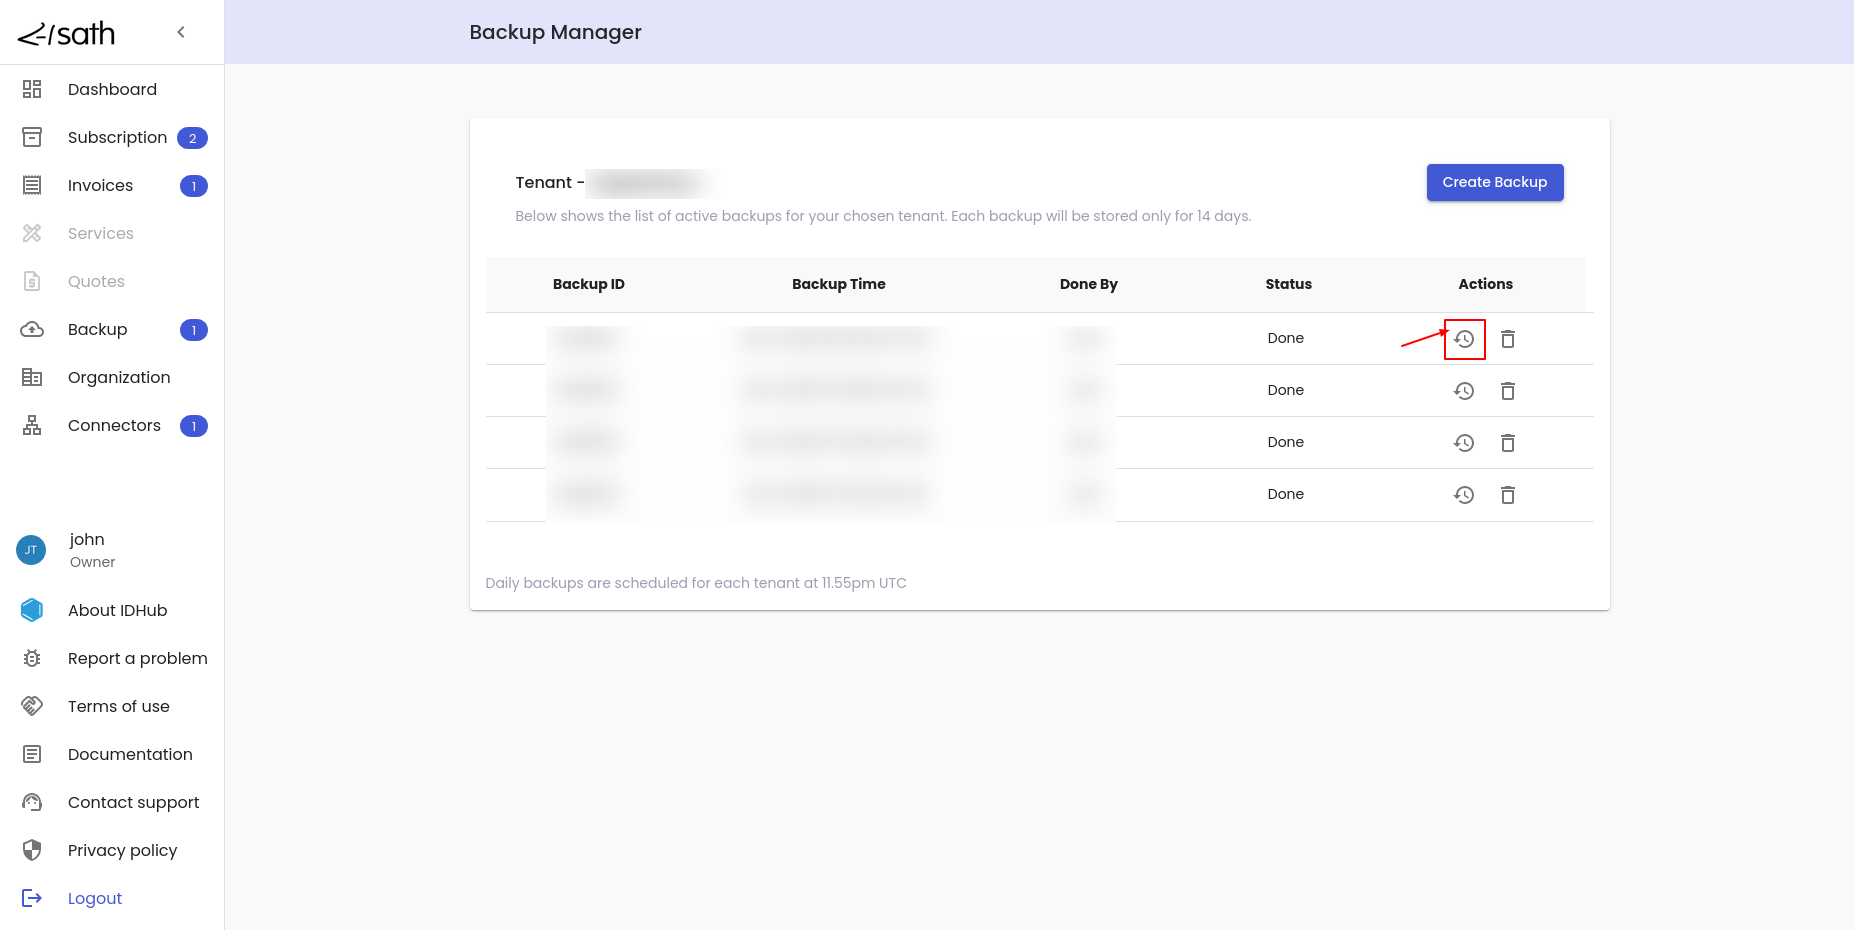
- To restore tenant data from a backup, click on the
restorebutton for that backup in the list (see screenshot above).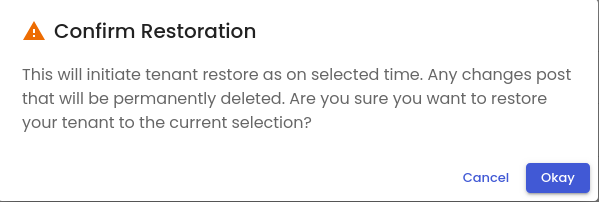
- A confirmation dialog box would open, to make sure that you would really like to restore the tenant data from the backup.
- IDHub would then start the restore of the tenant data from the backup. Once completed a toast message will appear that
Restore Completed Successfully.
Delete Backup
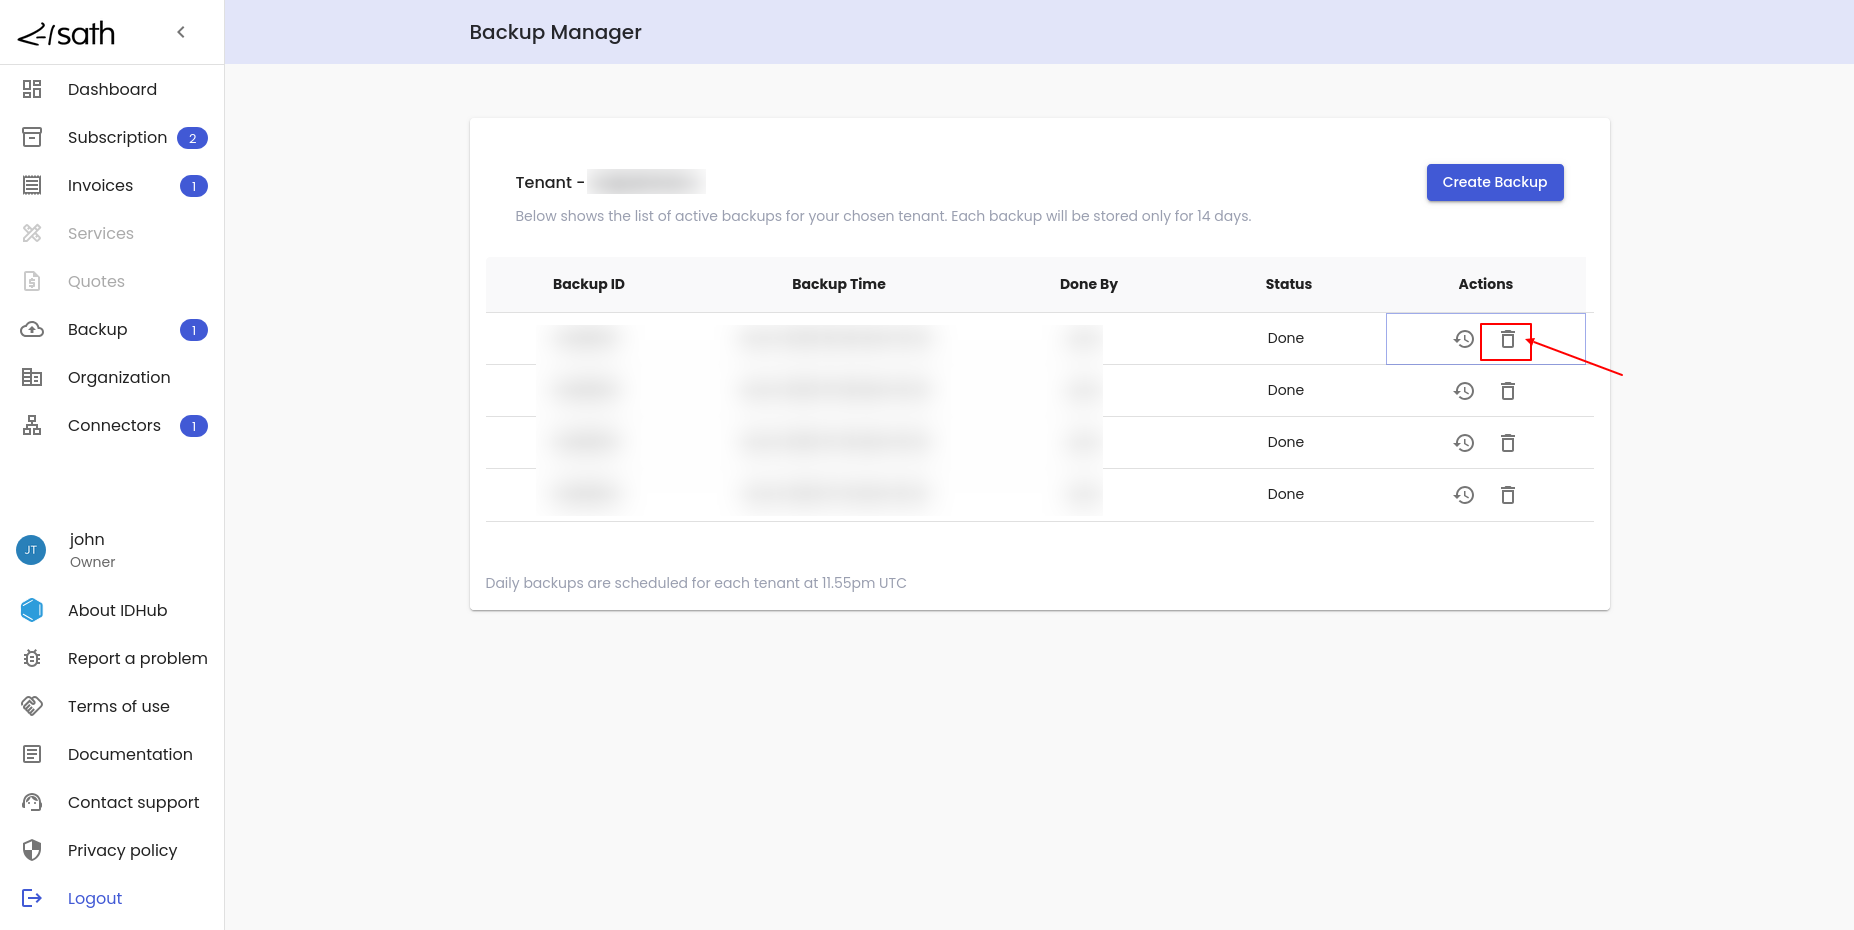
- To delete a backup, click on the
deletebutton for that backup in the list (see screenshot above).
- A confirmation dialog box would open, to make sure that you would really like to delete the backup.
- IDHub would delete the backup and the backup list would be updated accordingly.
info
Daily backups are scheduled for each tenant at 11.55pm UTC. Therefore, to schedule a daily back-up for each tenant at a specified time, API call needs to be integrated which will do the scheduling of daily backups for each tenant at a specified time.