Configure SSO Via SAML
This document discusses the SAML method of configuring the SSO. There are various methods of configuring the SSO, such as: SAML, OpenID Connect, GitHub etc. In this document we would focus on the SAML method of configuring the SSO.
SAML Method of Configuring SSO
- Login into your IDHub tenant.
- Make sure that you have admin credentials to log into your IDHub tenant.
- Click on the
Admin Settingfrom the IDHub dashboard. - Click on
Sign On. - Click on the
Keycloak Administrationbutton, and then you will be redirected to your Keycloak instance.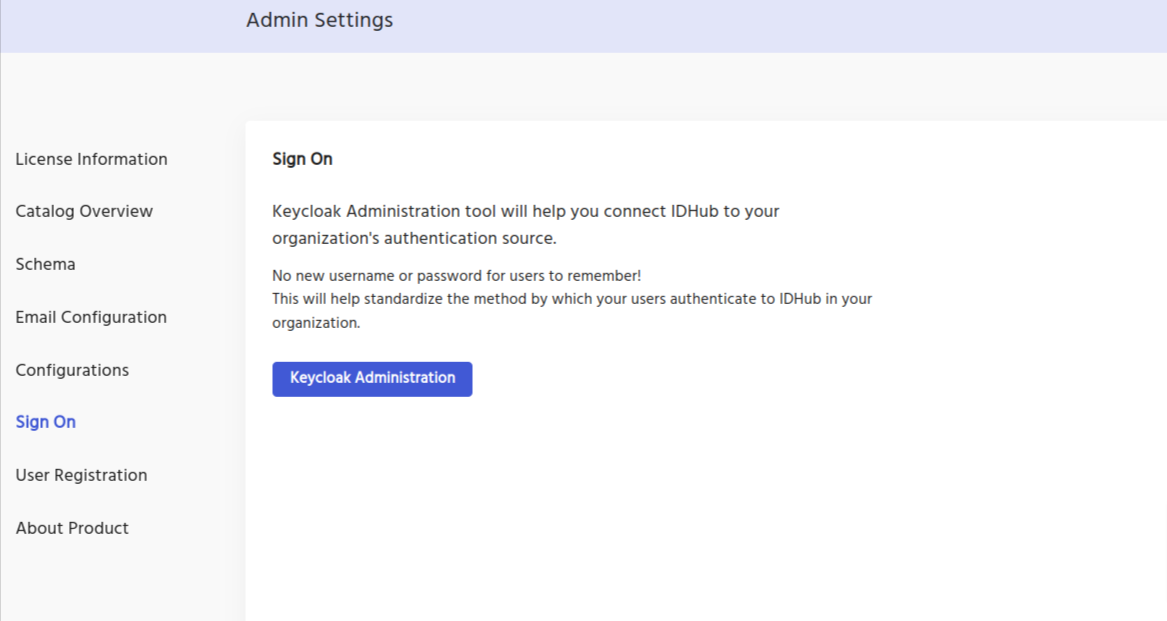
Creating the SAML client in Keycloak
Create a client in your Keycloak realm.
- Click on the
Clientslink in the left navigation bar in your Keycloak realm. - Click on the
Create Clientbutton.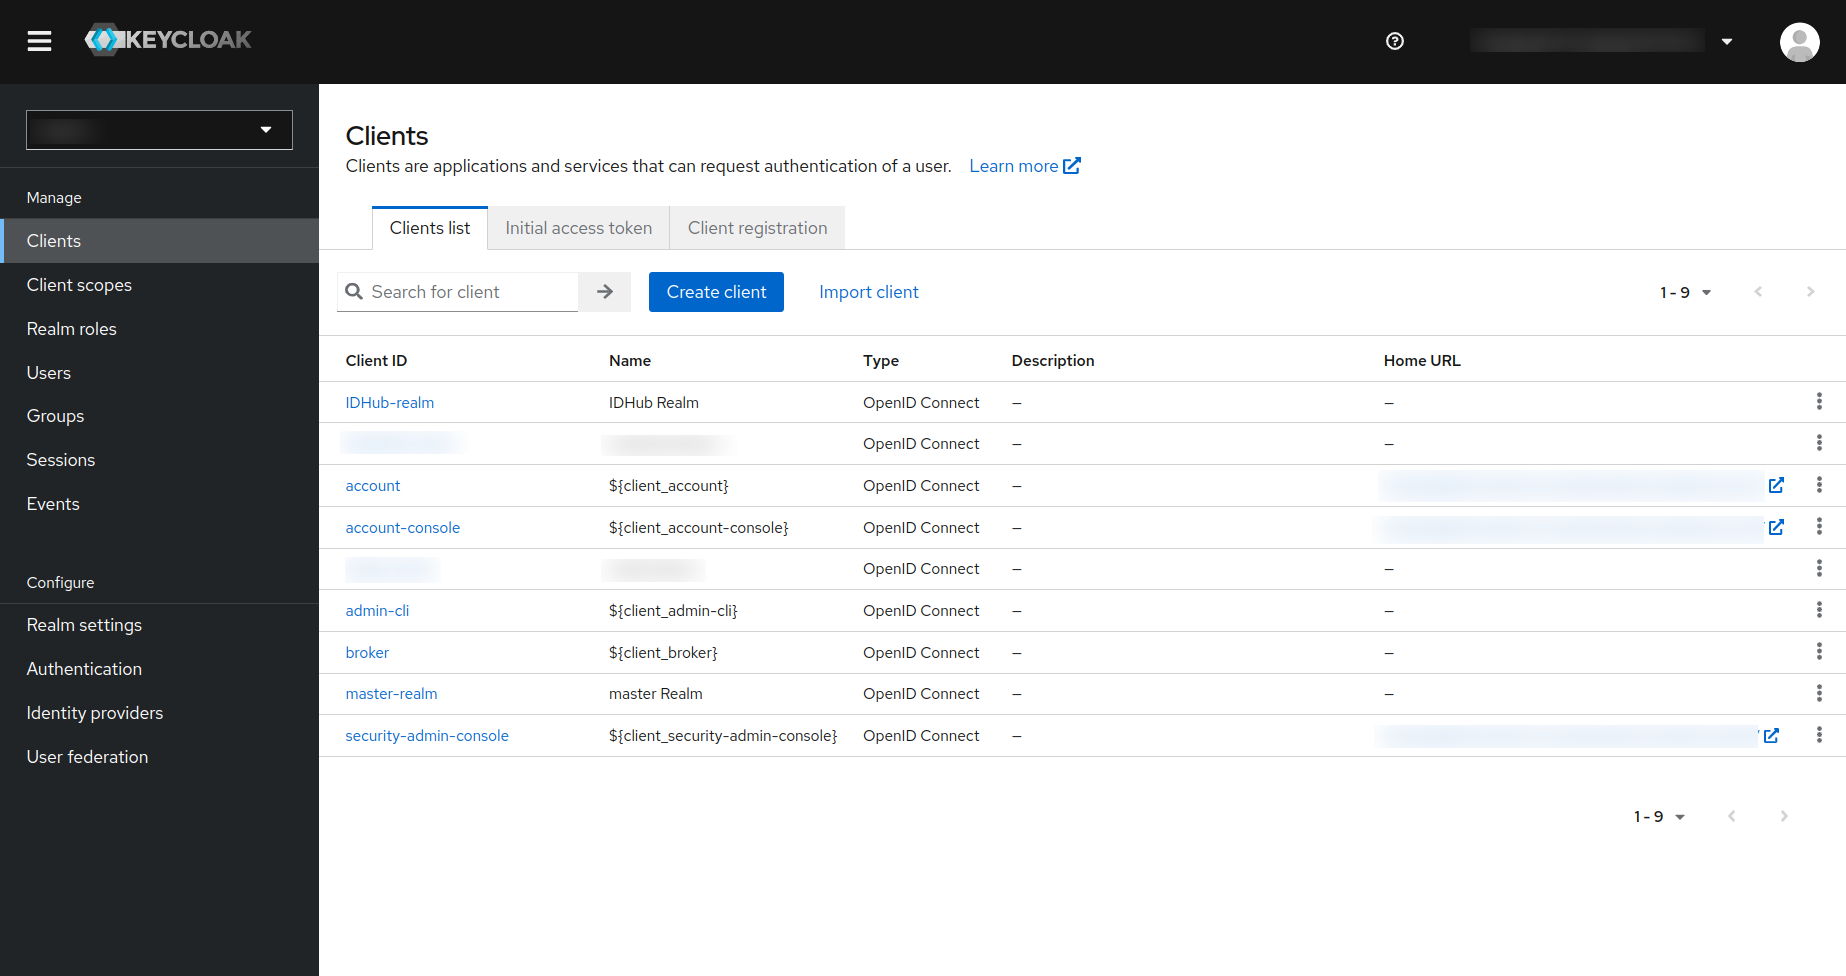
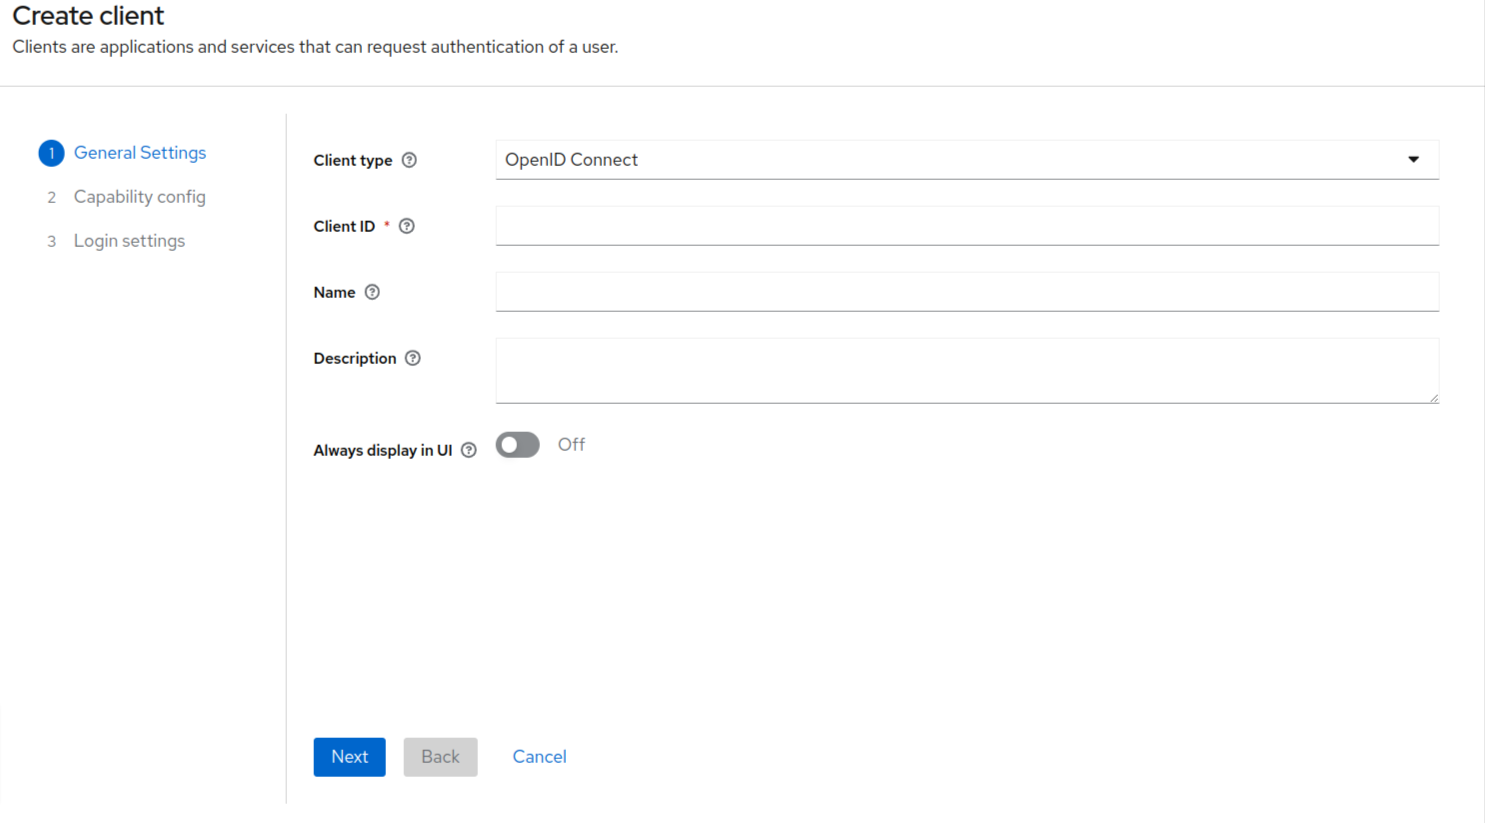
- Select the SAML from the client type drop-down (as shown in the screenshot below).
- Since we are going to use the SAML method of setting up the SSO, therefore the client type should be SAML here.
- Since we are going to use the SAML method of setting up the SSO, therefore the client type should be SAML here.
- Enter client ID and name.
- Click on the next button at the bottom.
- The next (as shown below) have the fields which are non-mandatory fields.
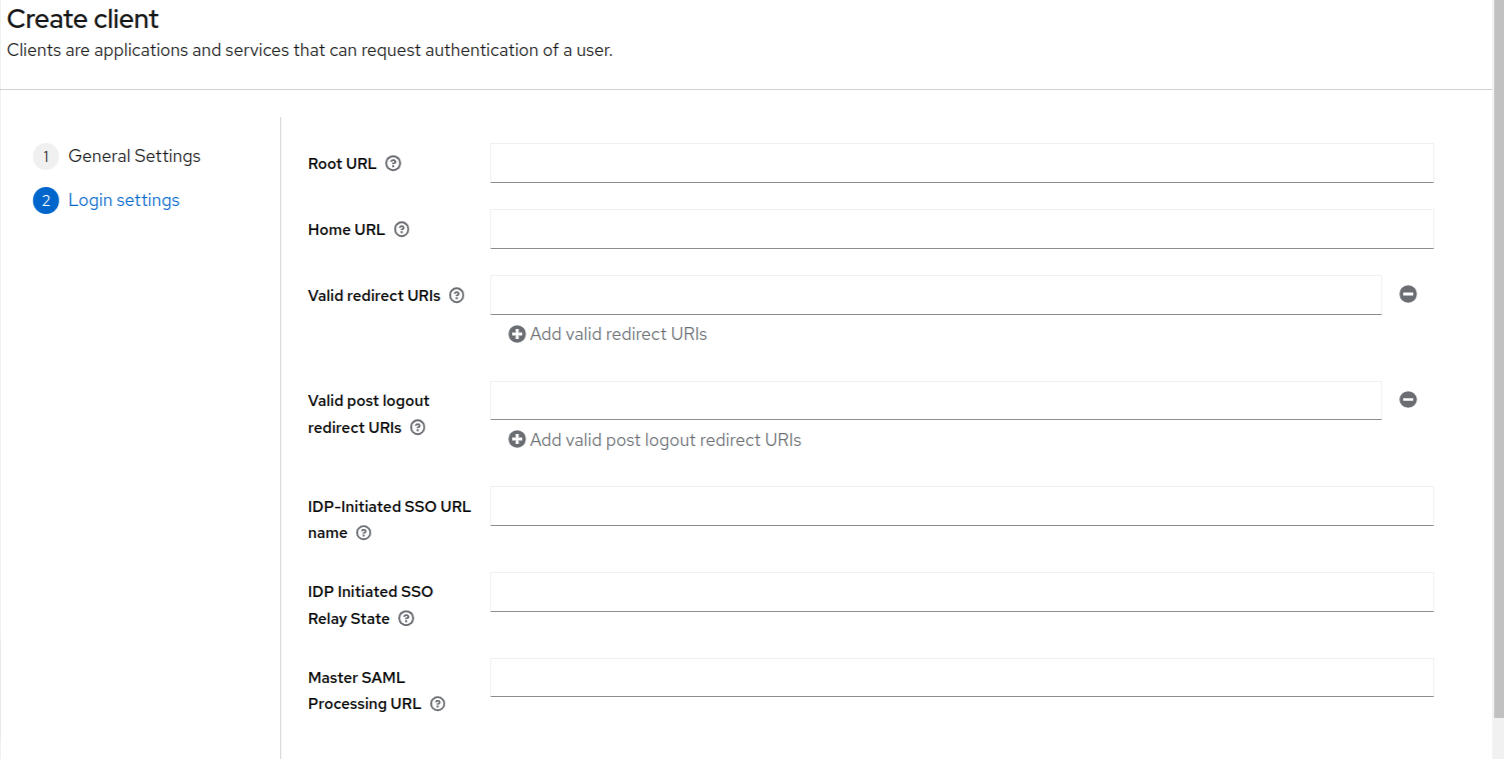
- Set valid redirect URIs to be “*” and click on the save button at the bottom of the page to create the client.
Creating the First Login Flow
Why Do You Need The Login Flow?
An authentication flow needs to be configured in Keycloak. In this tutorial we have described a specific flow which is applicable in scenarios where you do not need to implement additional checks before executing the single sign-on. However, there can be alternate flows as well, which you can configure in Keycloak as per your organizational internal policies. For detailed instructions on the Keycloak authentication, you can refer their offical documentation here.
Set-up The Login Flow
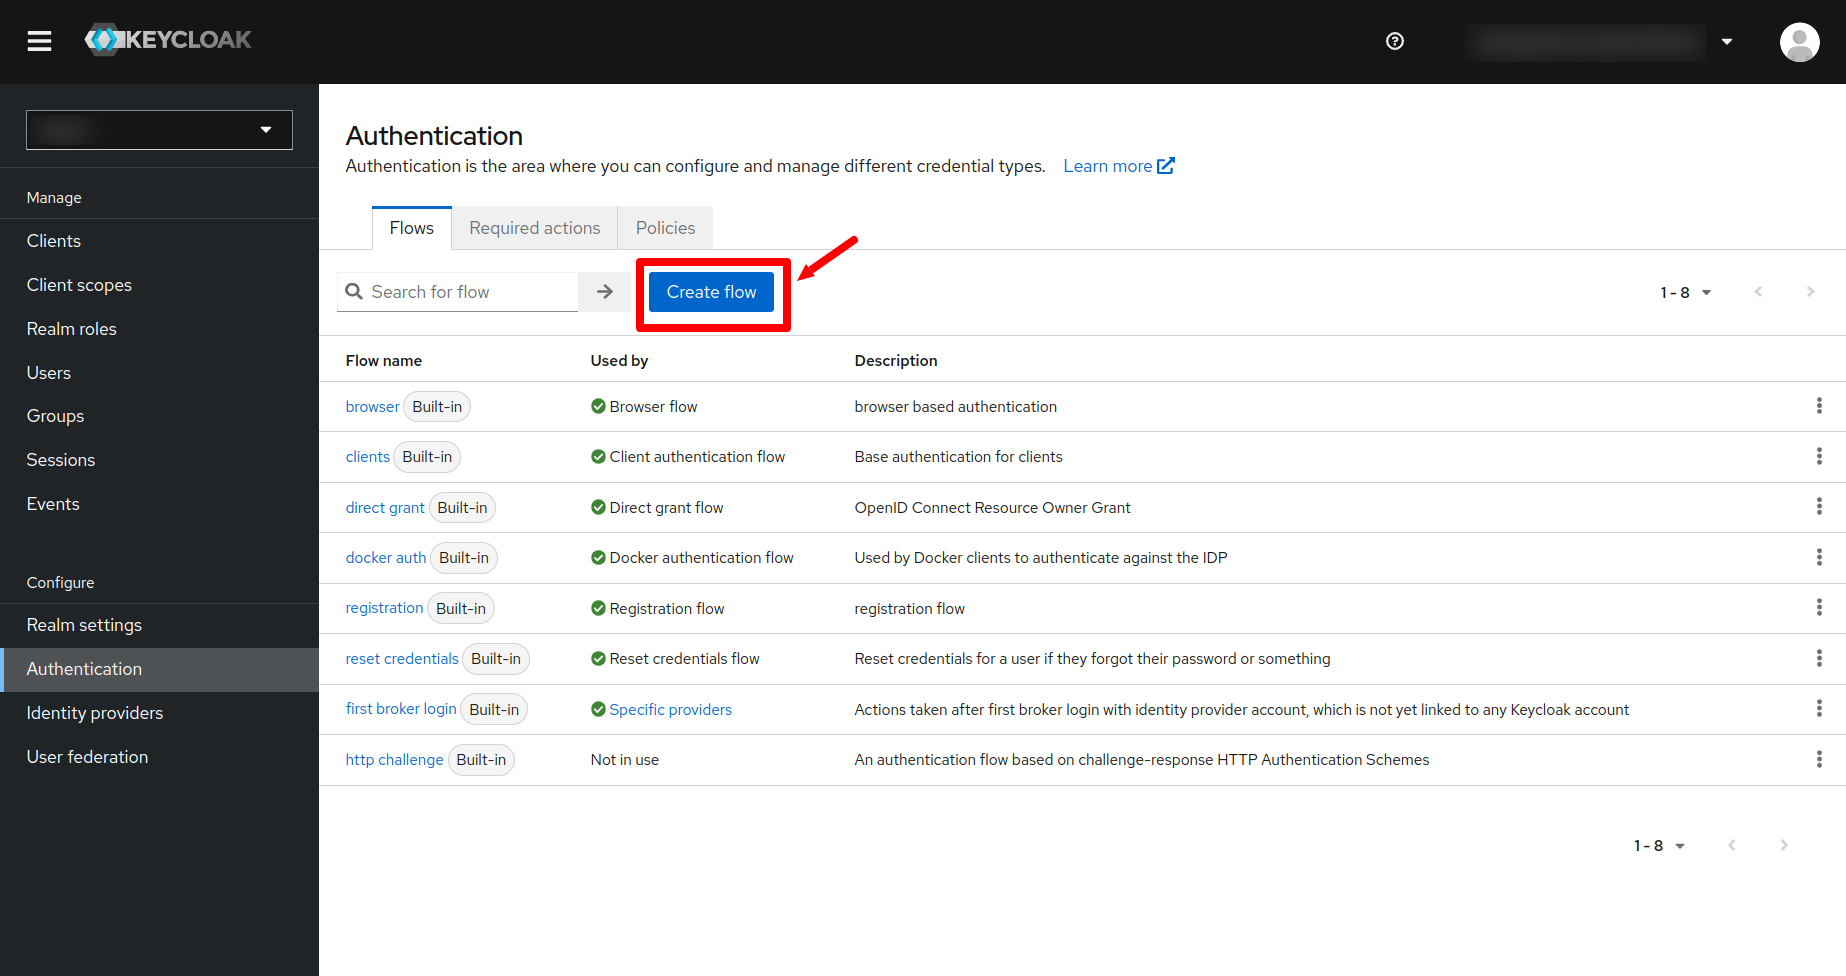
- Click on the Authentication menu on the left side navigation bar of the Keycloak and then click on the create flow button.
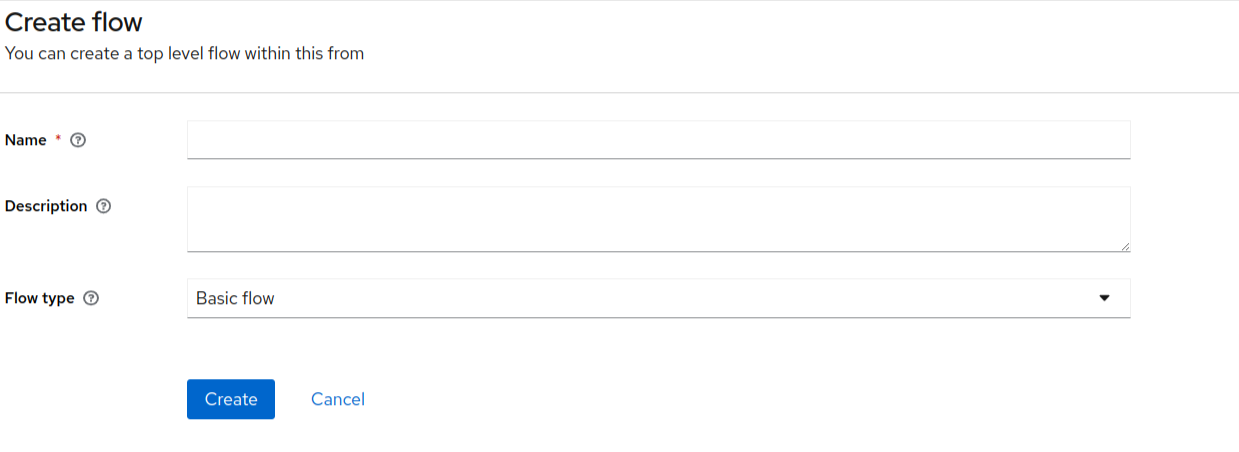
- Enter the name of the flow and click on the create button.
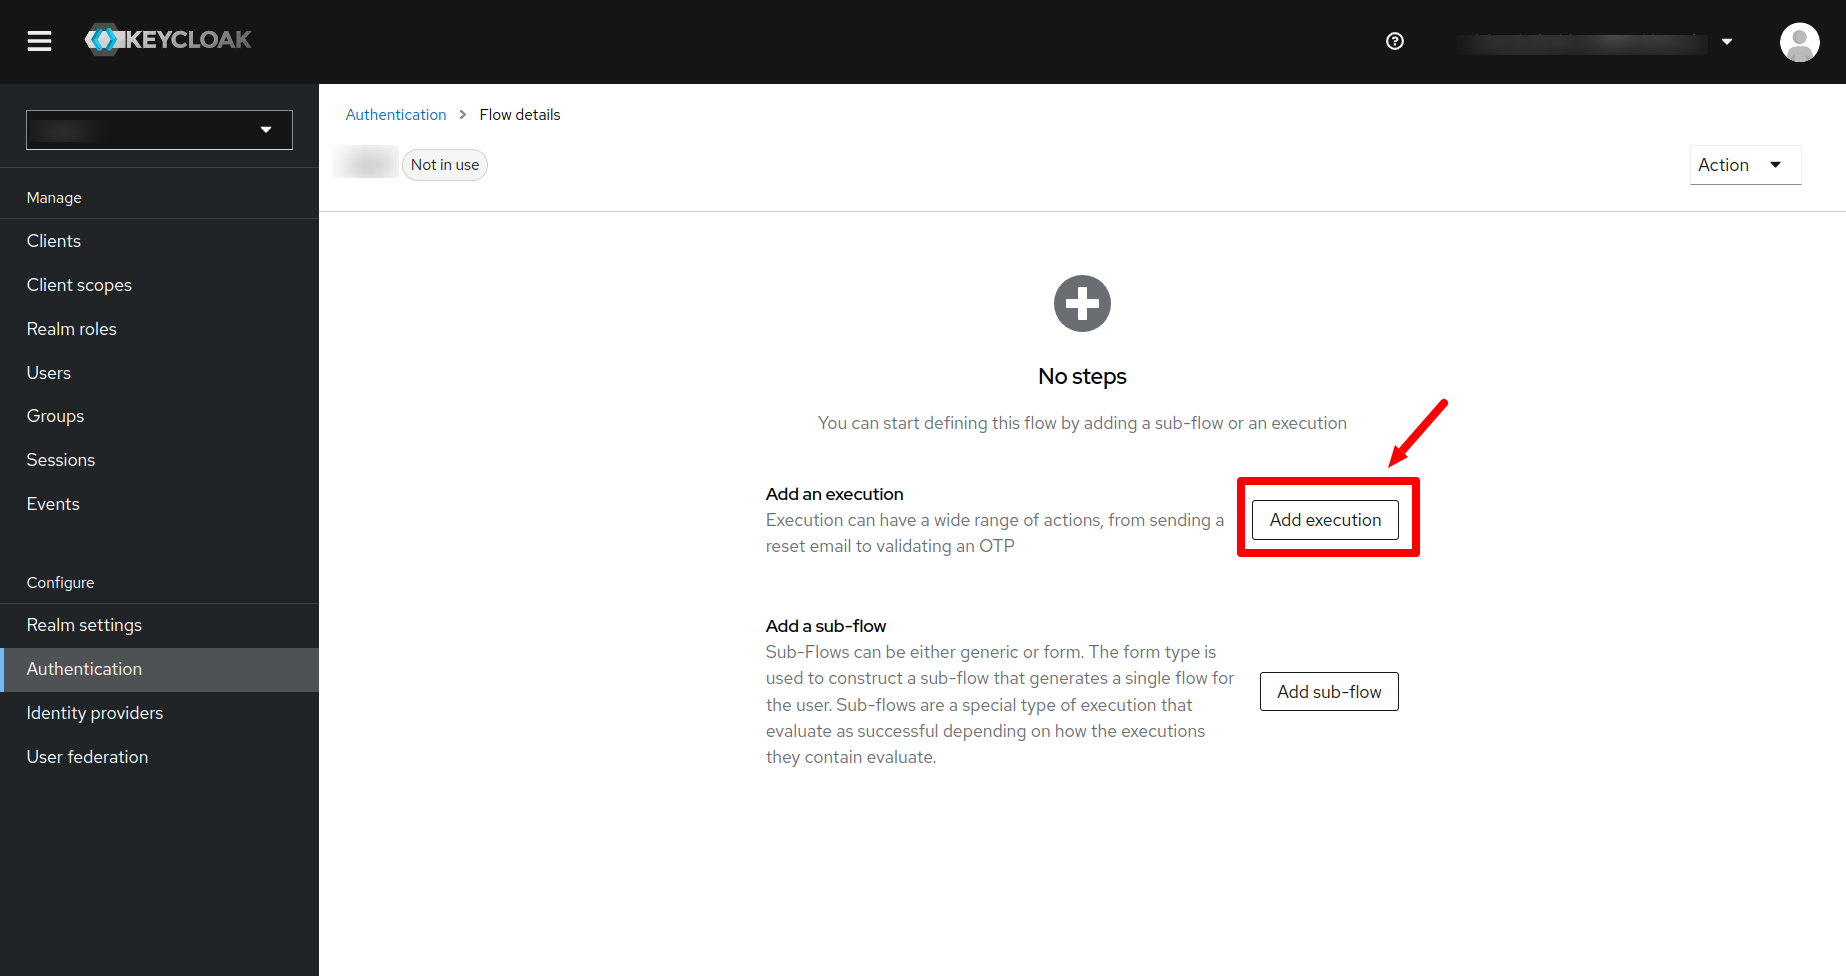
- In the next page click on the Add Execution button.
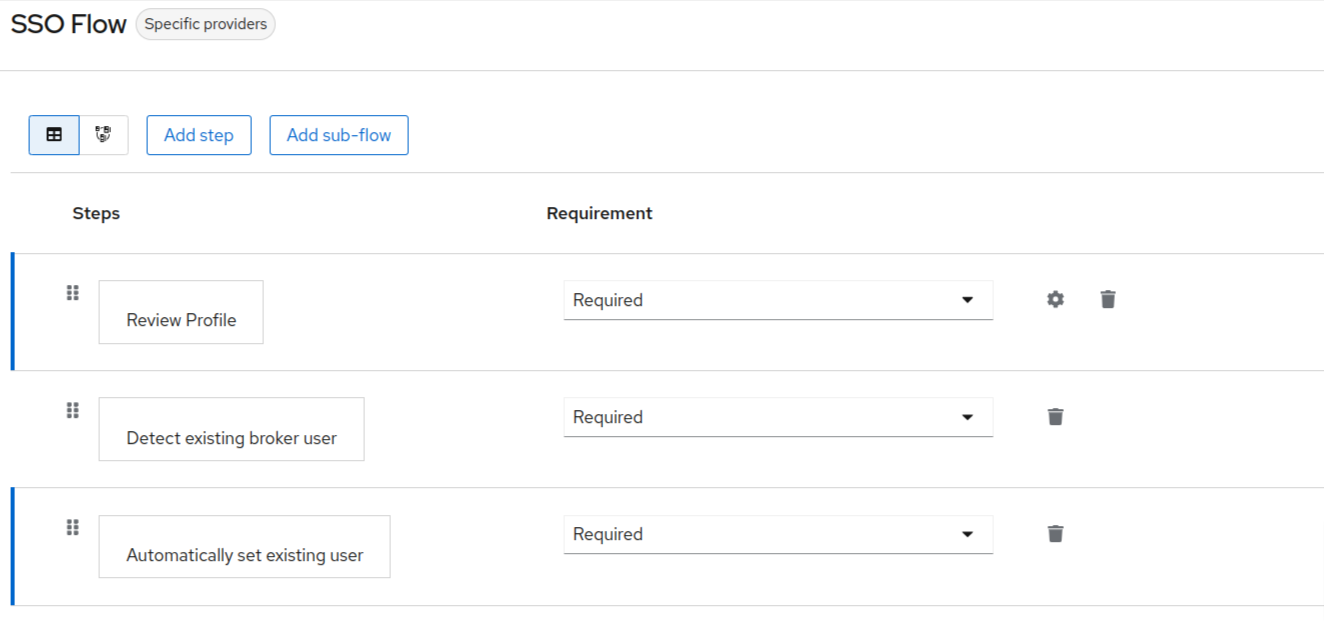
- Search for Review Profile and click on the add button. Then you will see the following:
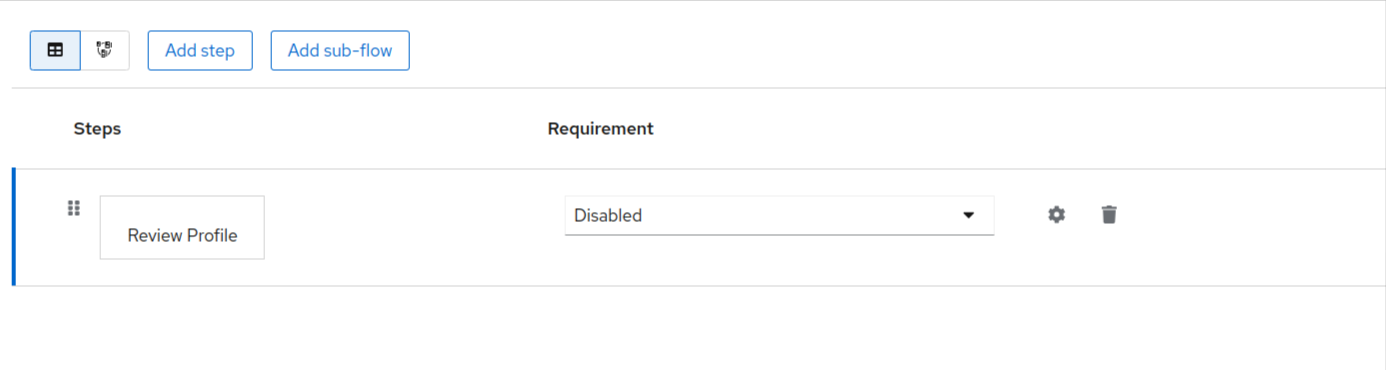
- Under the requirement header, click on the dropdown and make that as required.
- Repeating the above steps, add the following executions to the flow:
- Detect existing broker user.
- Automatically set existing user.
- The final executions for the flow would look something like this:
Creating The Identity Provider in Keycloak
- Click on the
Identity providerin the left navigation menu in the Keycloak and you will be redirected to the following page. - In that page click on the
Add Providerbutton as is shown in the screenshot below: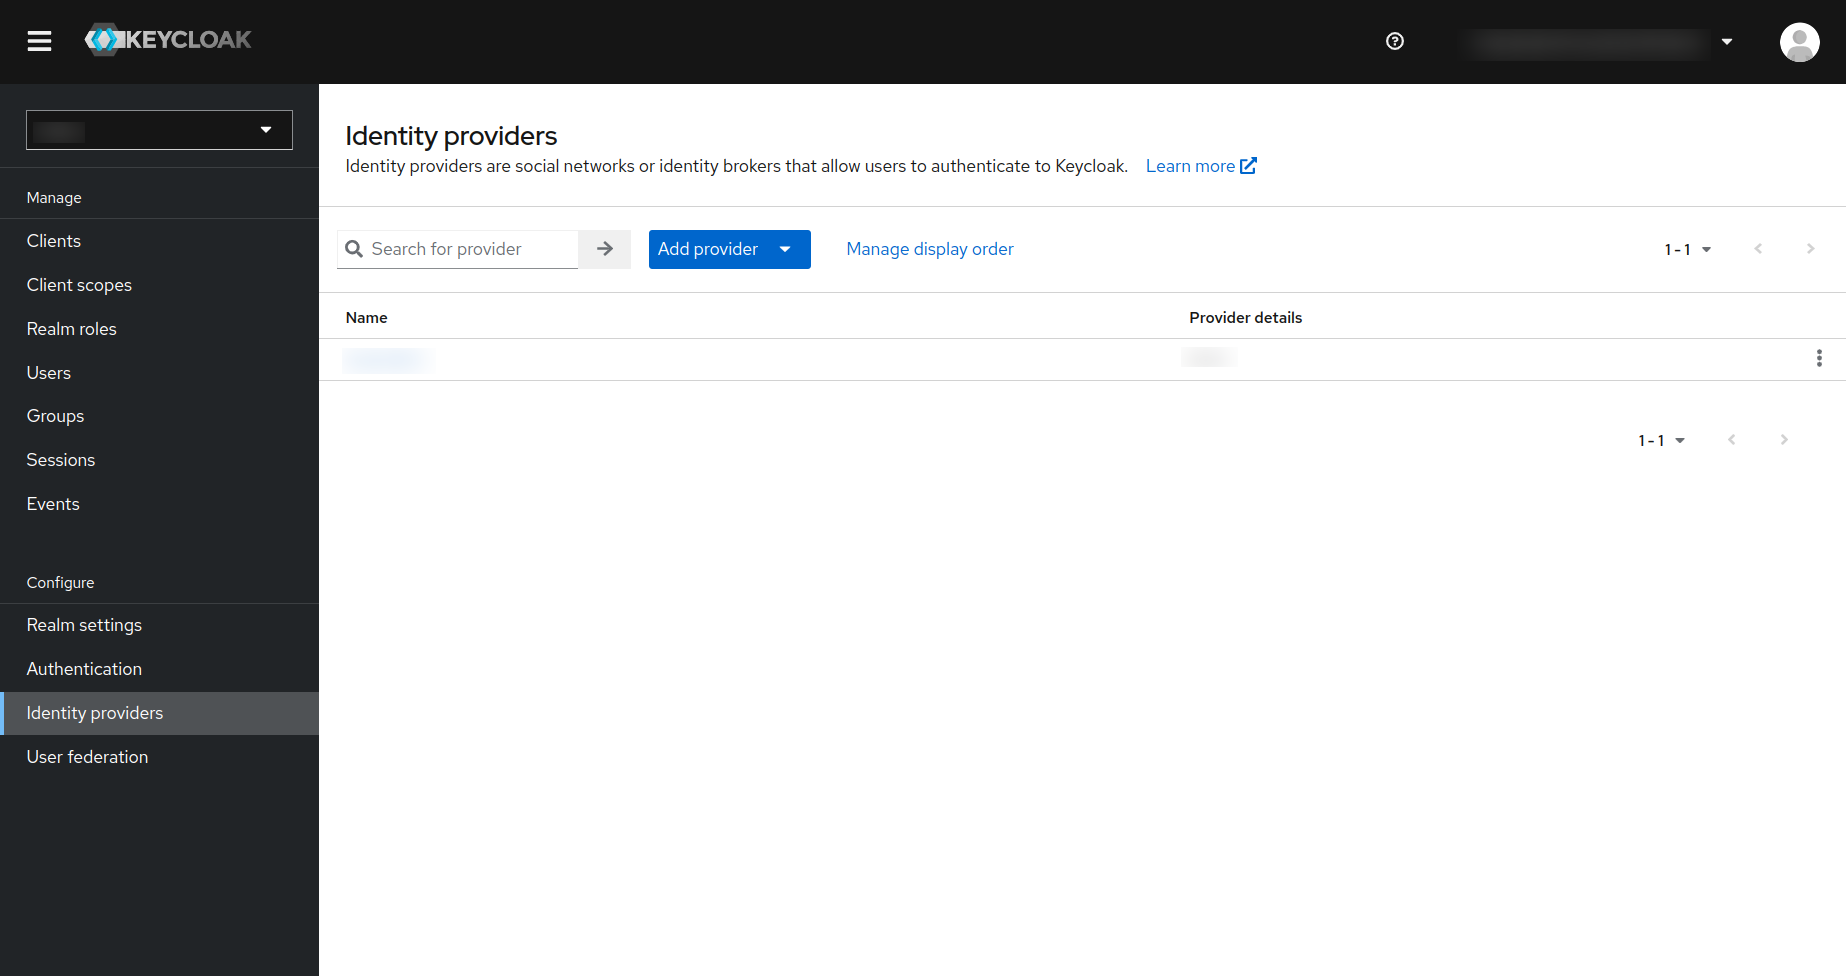
- In the drop-down that is displayed you need to click on the
SAML 2.0option. This will display the following page for adding the SAML provider.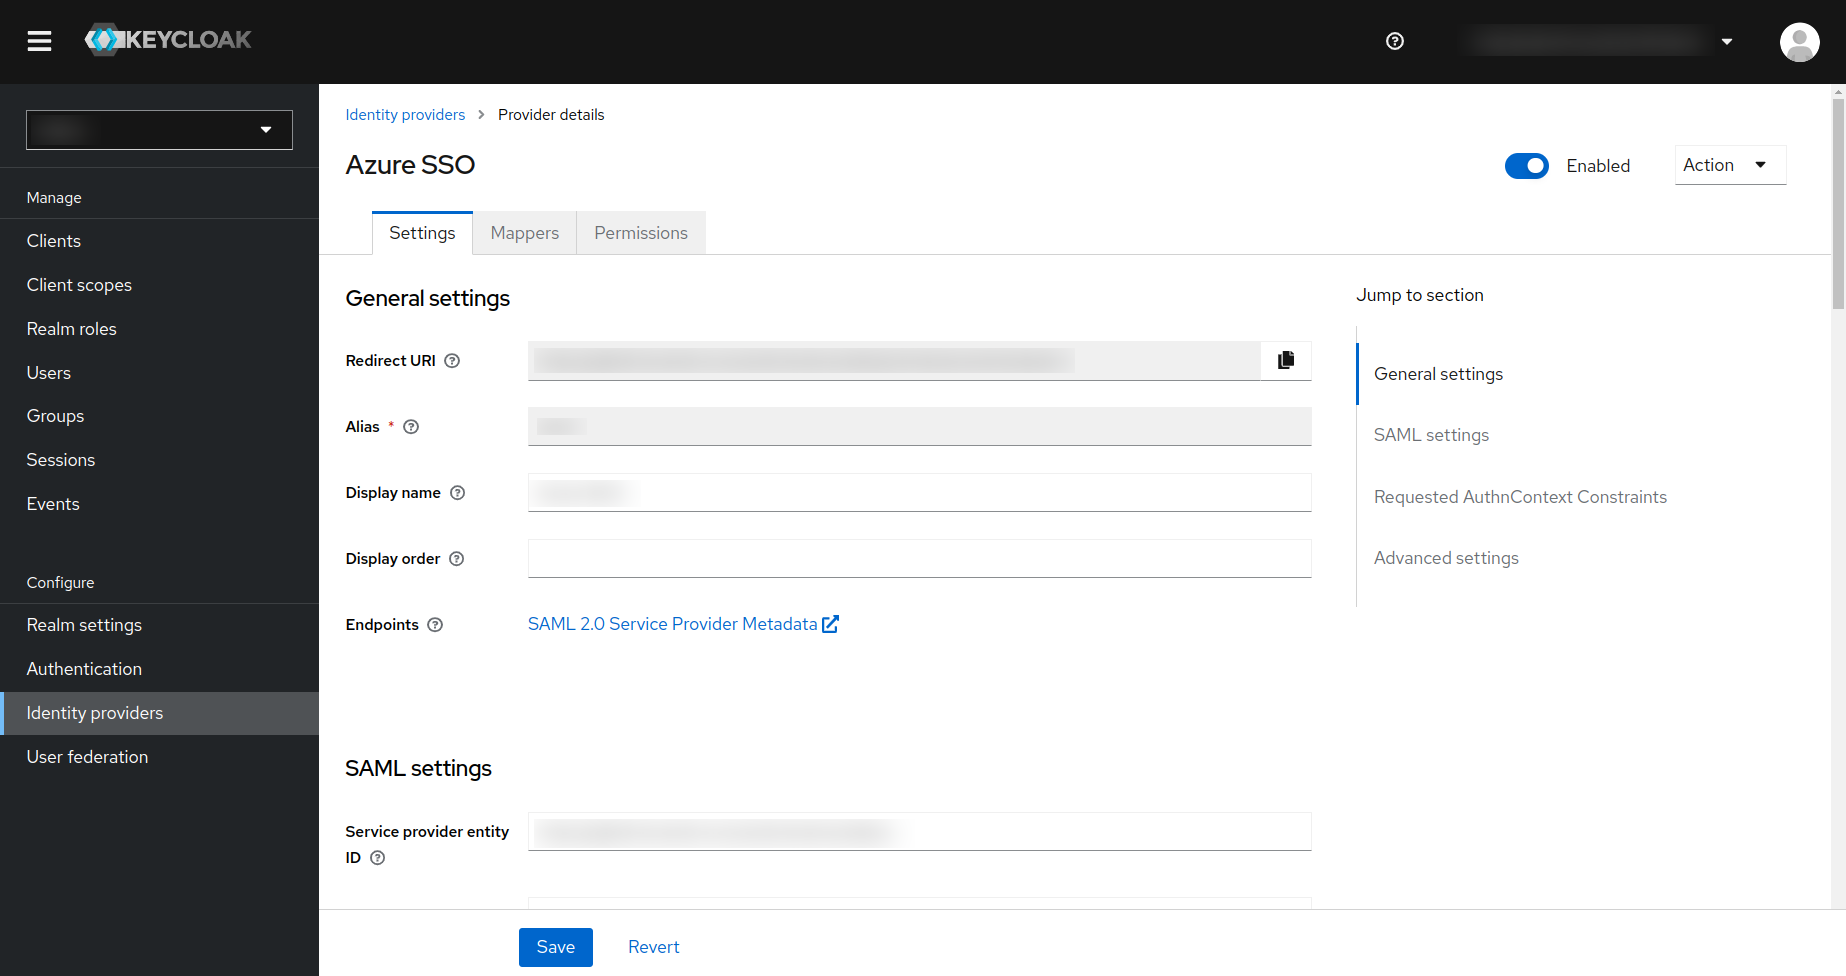
- Copy the Redirect URI and Service provider entity ID and keep it somewhere safe as this will be required when configuring your external identity provider.
- Under the
SAML entity descriptor, you need to enter the User Federation Metadata URL from your external identity provider. Consult the documentation for your external IDP for the same. - Make sure that you select the
First Loginflow (which you have created in the previous step) for the identity provider.
Creating The Mappers For The Identity Provider in The Keycloak
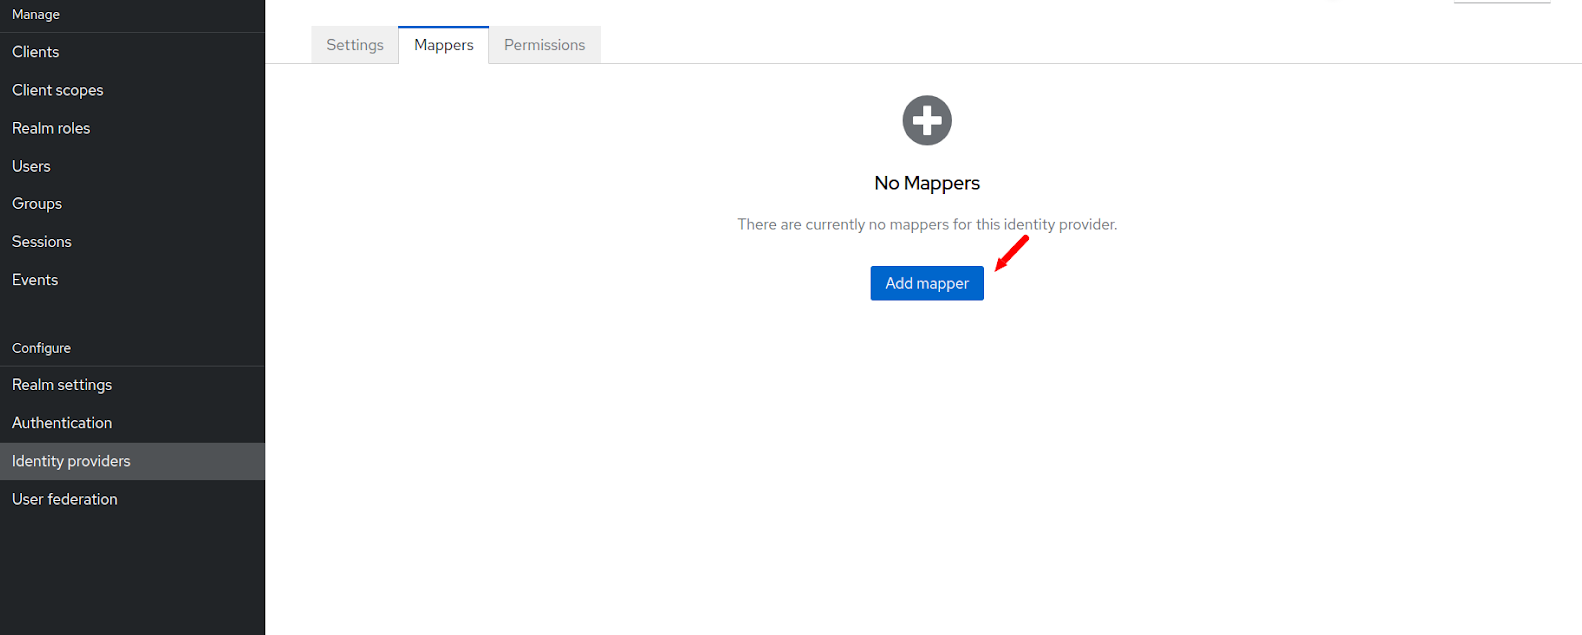
- Click on the identity provider link on the left side navigation menu of the Keycloak and then click on the identity provider that you created in the previous step. Now click on the mapper tab there.
- Then click on the Add Mapper button.
- In the next page you have to enter the mappers for the email address.
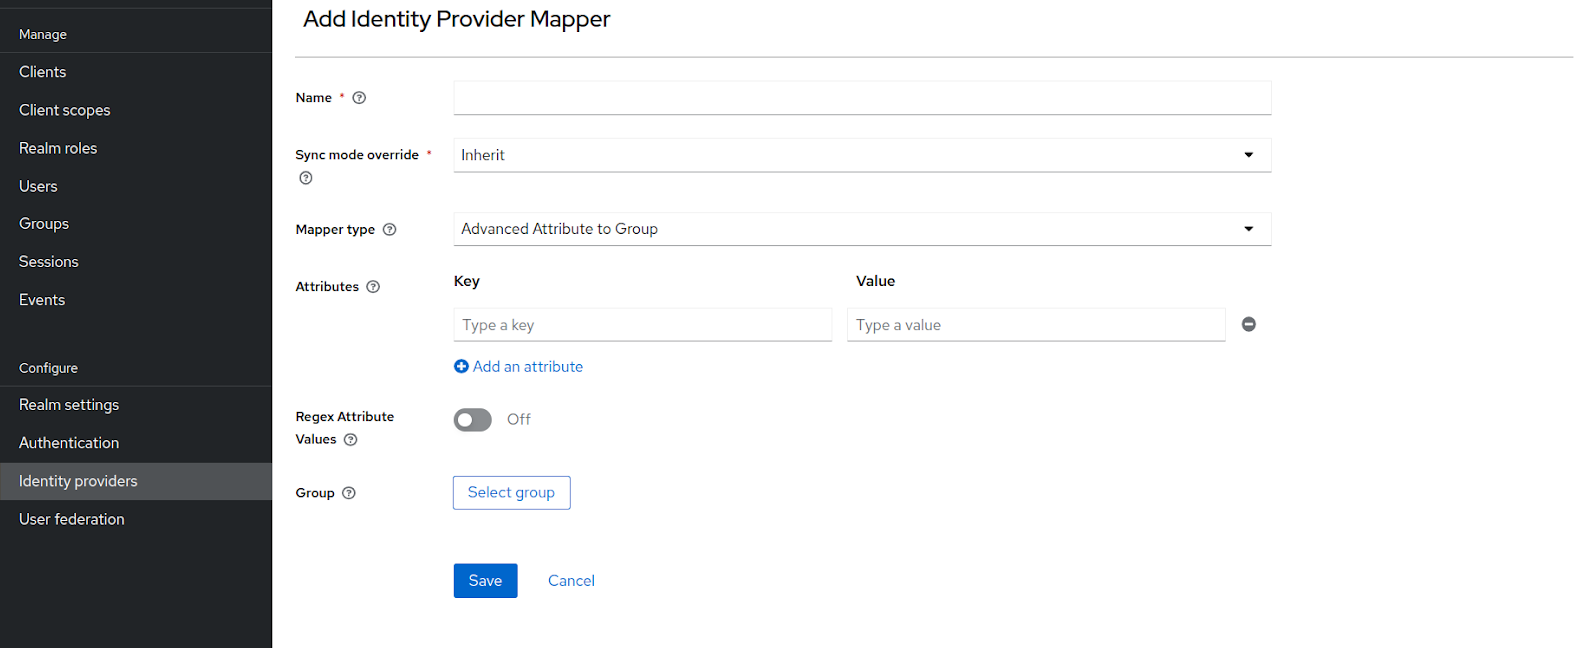
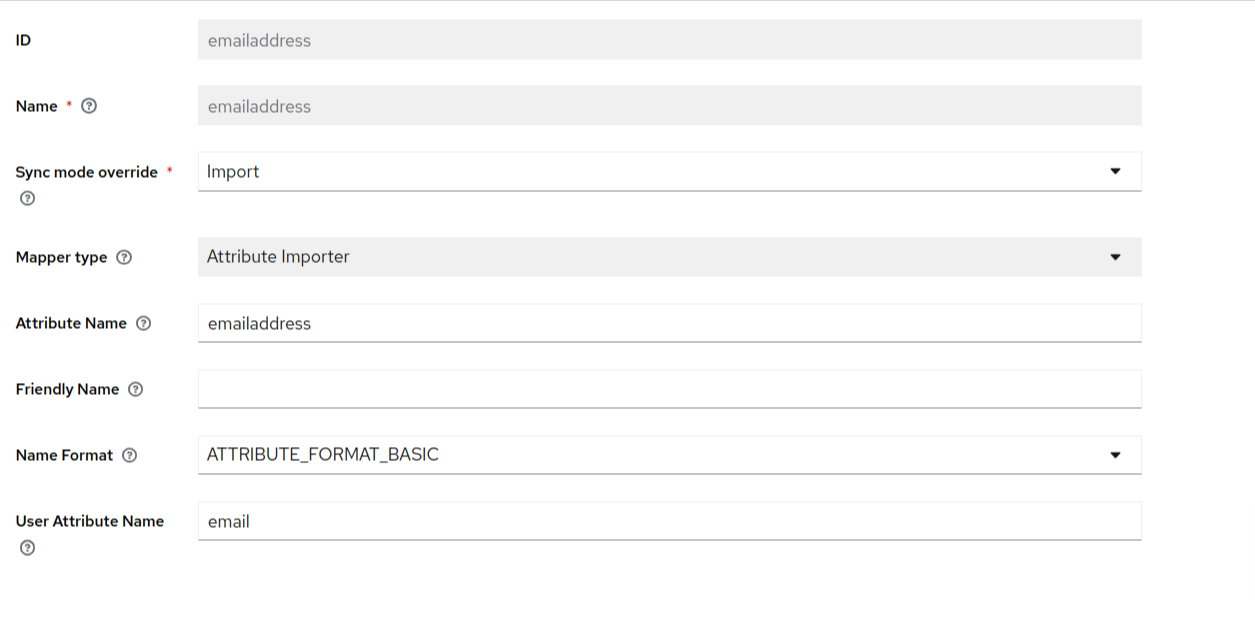
- Enter the name of the mapper and then in the sync mode override drop-down select import.
- Under the mapper type, select “Attribute importer”. Although non-mandatory, you can also enter the attribute name and user attribute name.
- After entering the required information, hit the save button. The final mapper can look something like this:
- Using the above described process, create the firstname and last name mappers as well. After doing the required configurations in Keycloak, you need to do the required setup in your external identity provider as well.
If your external IDP is Entra ID, Click Here for detailed instructions about how to setup Entra ID SSO.
Additional Mappers in Keycloak- If you want to map additional fields, then in Keycloak you can add more fields as well, using which you can map those additional attributes. Some of those fields are as follows:
- Gender.
- Locale.
- Family name.
- Middle name.
- Birth date.
- You can also create a custom attribute in Keycloak and add that as mapper in Keycloak.
- Click Here for detailed instructions on how to add a custom attribute in your Keycloak realm.
Sync Mode Choices- We recommend that you make the sync mode to “Force” for the identity provider in the Keycloak. This will always update the user during every login with your identity provider. However this is not mandatory. The other sync modes available in Keycloak are as follows:
- Legacy.
- Import.
- Inherit.
- Click Here for detailed instructions on these Sync Modes.